
Your manuscript is written. Your cover is ready. Now what? This guide walks you through every screen, every field, and every setting in the KDP upload process — so your book goes live without rejections, delays, or surprises.
Most first-time KDP authors assume the upload process is the hard part. It is not. The hard part is preparing your files correctly so the upload does not fail. If your manuscript PDF has the right dimensions, embedded fonts, and correct margins — and your cover file has the right spine width for your page count — the actual upload takes less than 30 minutes and your book is live within 72 hours.
This guide covers the entire process in the exact order you encounter it inside KDP, including every field you will see, what it means, what to put in it, and what happens if you get it wrong.
Nothing slows down a KDP upload more than stopping halfway to fix a file that is not ready. Before you log into KDP and click “Create a New Title,” make sure you have everything prepared. You can save your progress in KDP at any stage, but it is cleaner to go through the whole process in one sitting.
If your manuscript is not yet formatted correctly, use our free KDP Paperback Formatter to auto-apply the right margins, gutter, and bleed to your PDF in seconds. For cover dimensions, use our Spine Width Calculator to get the exact measurements for your trim size and page count.
Go to kdp.amazon.com and sign in with your Amazon account. You land on your KDP Bookshelf — the main dashboard that shows all your published and draft titles.
To start a new book, click the gold “+ Paperback” button under “Create a New Title.” You will see three format options:
If you want to publish all three formats, you create each one separately — but they will be linked automatically on the same Amazon product page if you upload them with the same title, author name, and matching ISBN details. Start with the format you are most ready for and add the others later.
KDP saves your progress as a draft automatically. You do not need to complete all three sections in one sitting. That said, the process flows better when you have everything ready and go through it start to finish in one session.

Section 1 of the KDP upload is called “Book Details.” This is where you build your Amazon listing. Every field here affects how your book appears to buyers searching on Amazon — so it deserves more thought than most authors give it.
Enter your title exactly as it will appear on the cover and on Amazon. KDP is strict about this — the title on the copyright page, the cover, and the KDP dashboard must all match. Do not add keywords to the title field that do not appear on your actual cover. Amazon can suppress or reject books where the metadata title does not match the cover title.
The subtitle field is where you can naturally include your main keyword phrase. A subtitle like “A Step-by-Step Guide for First-Time Self-Publishers” includes discoverable keywords and adds context for buyers. Keep it honest and descriptive — it should actually describe the book. Amazon monitors subtitles for keyword stuffing and will flag or suppress titles that abuse this field.
If your book is part of a series, enter the series name and volume number here. This creates a series page on Amazon that links all volumes together. If your book is standalone, leave this blank.
Leave this blank for most books. Only use it if you are publishing a revised second or third edition of a previously published title.
Enter your author name exactly as you want it displayed on Amazon. This becomes your author identity on the platform — it appears on your book page, in search results, and on your Author Central page. If you are using a pen name, enter it here. You can have multiple pen names under one KDP account.
If your book has an editor, illustrator, translator, or co-author, you can add them here with their role. This is optional and does not affect discoverability. It does appear on your Amazon book page.
This is your book’s sales copy on Amazon — the text buyers read before deciding to purchase. KDP allows up to 4,000 characters and supports a limited set of HTML tags: <b> for bold, <i> for italic, <br> for line breaks, <h4> through <h6> for headings, and <ul>/<li> for bullet points. Most authors do not format their descriptions at all, which is a mistake — a well-formatted description with a strong opening hook and clear benefit statements outsells a wall of plain text every time.
Select “I own the copyright and I hold the necessary publishing rights.” This is the standard selection for original work. Only select “This is a public domain work” if you are publishing a title where the copyright has genuinely expired.
Do not write your book description directly in the KDP dashboard. Write it in a document first, then add your HTML formatting tags, then paste it into KDP. The KDP description field is uncomfortable to work in and does not preview formatting until after you save.
Most authors spend 90% of their time on the manuscript and 5 minutes on keywords and categories. This is backwards. Keywords and categories are how Amazon decides when to show your book to potential buyers. Getting them wrong means your book is effectively invisible on the platform no matter how good it is.
KDP gives you 7 keyword fields, each accepting up to 50 characters. A few things to understand about how these work:
KDP lets you choose 2 categories during upload, but here is the thing most guides do not mention: after publishing, you can contact KDP support and request up to 8 additional categories, for a maximum of 10 total. The authors who do this consistently outperform those who do not, because more categories means more bestseller list placements, which means more visibility.
The strategy for choosing categories is counterintuitive. Your first instinct will be to find the most relevant, most popular category. That is often the wrong choice. A book in “Mystery > General” is competing against 300,000 titles. The same book in “Mystery > Cozy > Amateur Sleuth” might compete against 3,000. Your chances of reaching the top 100 — and getting the bestseller badge — are dramatically higher in a specific sub-category.
| Category Level | Competition | Bestseller Badge? | Strategy |
|---|---|---|---|
| Top level (Mystery) | 300,000+ titles | Almost impossible | Avoid as primary |
| Mid level (Mystery > Cozy) | 30,000–80,000 | Difficult but possible | Use as one of your 10 |
| Specific sub-category | 500–5,000 | Achievable | Target this level |
After your book goes live, email KDP support at amazon.com/gp/help/contact-us. Tell them your ASIN and the exact category paths you want to add (e.g. “Kindle Store > Kindle eBooks > Mystery > Cozy > Amateur Sleuth”). They typically add them within 24–48 hours, no questions asked.
Section 2 of the KDP upload is called “Content.” This is where you upload your actual files. You also assign your ISBN, choose your interior settings, and set your trim size here.
The first thing KDP asks in Section 2 is whether you want a free KDP-assigned ISBN or if you will provide your own. For most self-publishers, the free KDP ISBN is the right choice. It is registered under “Independently Published” as the publisher name — which does not affect sales in any meaningful way. If you want your own publishing company name on the ISBN, you need to purchase one from Bowker in the US ($85–$295 per ISBN) or Nielsen in the UK.
You can set this to the current date or a past date if your book was previously published elsewhere. This shows on your Amazon listing as the “Date First Available” and is sometimes used by readers to gauge how current a non-fiction book is. For fiction, most readers do not care about this date.
This is one of the most consequential decisions in the whole upload process because you cannot change it after publishing without creating a new listing. Black and white printing costs $0.012 per page. Color printing costs $0.07 per page — nearly 6 times more. A 250-page color book costs approximately $18.35 to print, which means you would need to price it at $30+ to earn a reasonable royalty. Unless your book genuinely requires color (children’s picture books, art books, certain cookbooks), choose Black and White.
White paper has higher contrast and is better for books with images, charts, or technical content. Cream paper is warmer and easier on the eyes for long fiction reads — it is the industry standard for novels and literary non-fiction. Both cost the same to print. Cream paper is approximately 10% thicker per page, which means your spine will be slightly wider. If your cover is already designed, check whether your spine width was calculated for white or cream before switching.
This must match your manuscript PDF dimensions exactly. If you select 6″×9″ here but your PDF is sized to 8.5″×11″, KDP will reject the file or scale it incorrectly. There is no way to fix this except to reformat your manuscript to the correct size. Use our KDP Book Sizes Chart if you are unsure which size matches your manuscript.
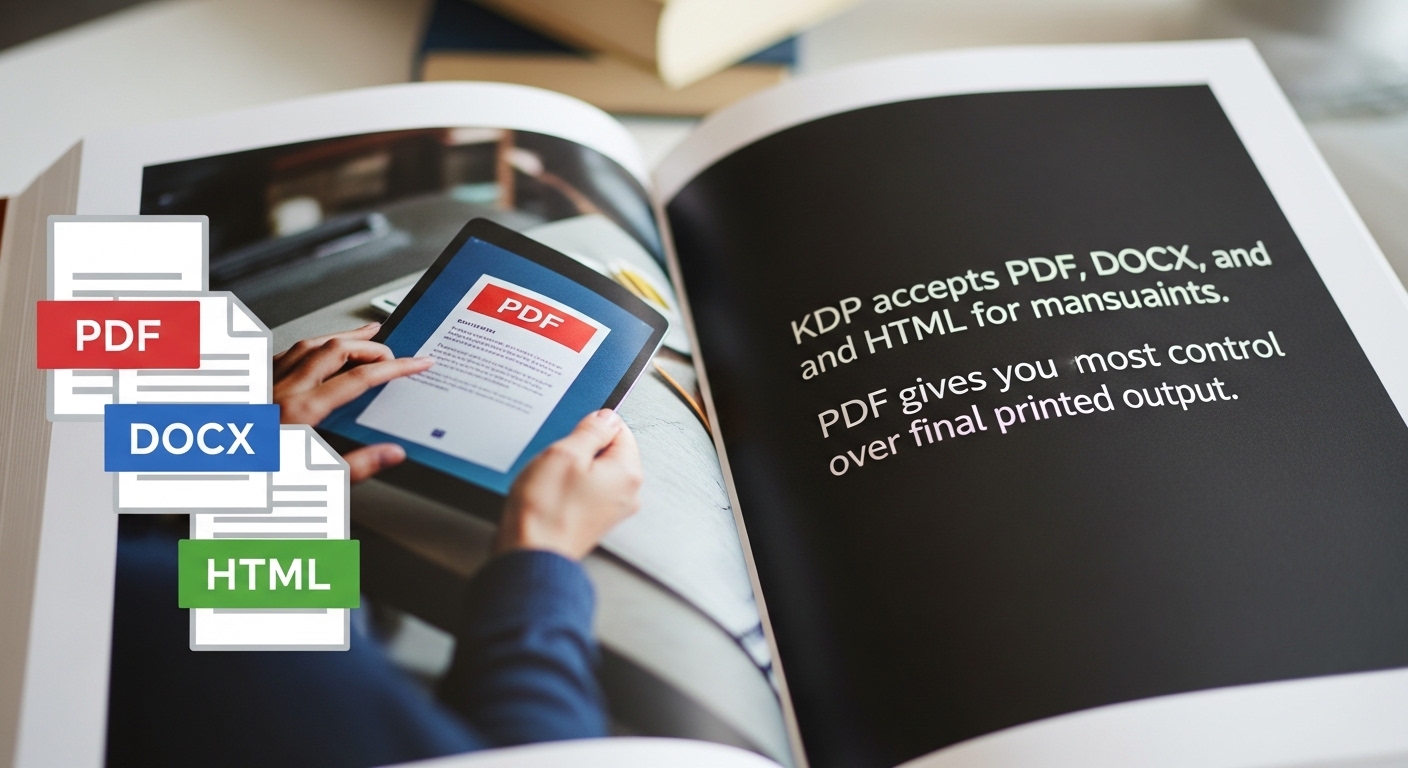
Click “Upload Paperback Manuscript.” KDP accepts PDF, DOCX, and HTML. For the best results with a professionally formatted book, use PDF. When you upload a PDF:
Upload your PDF to our formatter and it automatically applies the correct gutter, margins, and trim size. Download a KDP-ready file in seconds.
After you upload, KDP runs an automated check on your manuscript. This typically takes 1–3 minutes. If the file has issues — wrong dimensions, non-embedded fonts, resolution problems — KDP will show you a yellow warning or a red error. Yellow warnings mean the file will be accepted but may have minor print quality issues. Red errors mean the file is rejected and must be corrected before you can proceed.
The most common error messages and what they actually mean:
For a Kindle eBook, your cover upload is simple: a JPEG or TIFF file, ideally 1600×2560 pixels. That is a ratio of 1:1.6, which Amazon calls the standard Kindle cover format. Use our free eBook Cover Resizer to check and resize your cover to KDP’s exact requirements.
For a paperback, the cover upload is more involved and is where a surprising number of first-time authors hit a rejection. Here is why: you need a full wrap cover — a single PDF that contains your back cover, spine, and front cover all in one file, sized to exact pixel dimensions based on your specific trim size, page count, and paper type. If any of these three variables is wrong, the cover will not line up correctly when printed.
The spine width is the critical measurement. It is calculated by multiplying your page count by the thickness per page for your paper type:
A 300-page book on white paper has a spine of 300 × 0.002252 = 0.6756 inches. Add 0.125″ bleed on each edge and the full wrap width is (front cover width + 0.125″) + spine width + (back cover width + 0.125″). For a 6×9 paperback at 300 pages on white paper, that works out to approximately 12.95″ × 9.25″ total document size.
Enter your trim size, page count, and paper type into our Spine Width Calculator. It gives you the exact spine width, front cover dimensions, back cover dimensions, and total wrap size in both inches and pixels.
No. Amazon KDP automatically places the ISBN barcode on your back cover after you upload the file. You do not need to include one in your design. Some designers leave a white box on the back cover for the barcode — this is fine but not required. KDP will overlay the barcode regardless of what is on your back cover design.
The most common cover rejection is a spine that is too wide or too narrow for the actual page count. This happens when authors design the cover before finalising the page count, then the formatted manuscript turns out to have a different number of pages than expected. Always calculate your spine width from the final formatted manuscript, not the Word document page count.

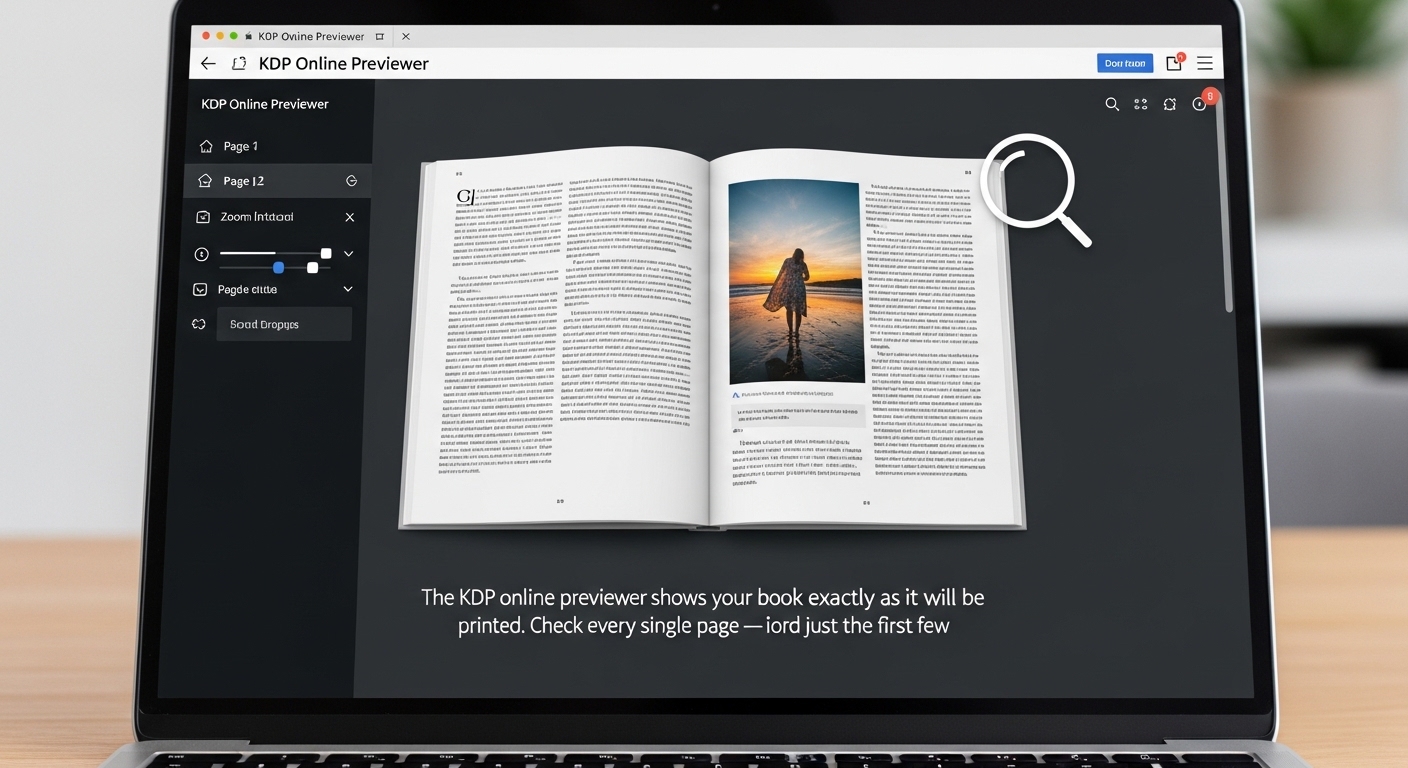
After uploading both your manuscript and cover, KDP shows a “Launch Previewer” button. This opens an online reader that shows your book exactly as it will look in print (for paperbacks) or on a Kindle device (for eBooks). Do not skip this step.
The previewer is the last chance to catch problems before your book goes live. Problems that are common in the previewer and easy to miss:
Title page, copyright page, dedication, and table of contents. Make sure your copyright page has the correct year and author name, and that your TOC links work if it is an eBook.
Chapter titles should be on the correct page — for a traditionally formatted book, chapters start on a right-hand (odd-numbered) page. If your chapter 3 opens on a left-hand page, you need to add a blank page before it in your manuscript.
Flip through a few pages and look at the inner margin — the side closest to the spine. Text should not be too close to the binding. If you see text cutting off near the inner edge, your gutter is insufficient for your page count.
Images should be sharp in the previewer. If an image looks slightly blurry, it is likely under 300 DPI and will print soft. Re-embed at higher resolution before uploading.
Page numbers should be consistently placed and not cut off. Headers showing chapter titles or author names should be within the safe margin area on every page.
The previewer also shows a 3D rendering of your cover. Check that the spine text is centered, readable, and not running off the edges. Check that the front and back cover images look correct and are not stretched.
If you find a problem in the previewer, close it, fix your file, re-upload, and preview again. There is no limit to how many times you can re-upload before publishing. It is better to re-upload five times in the dashboard than to discover a problem after your book is live and customers have already received copies.
Section 3 is called “Pricing.” This is where you choose your royalty plan and set your list price for each marketplace. KDP distributes to dozens of Amazon marketplaces worldwide, and you can set a price for each one individually or use their automatic currency conversion.
Select “All territories (worldwide rights)” unless you have specific rights restrictions. Most self-published authors own their rights in all territories, so this is the standard selection. If you are a traditionally published author publishing a self-published title alongside your traditionally published work, check your traditional publishing contract before selecting this — some contracts include territorial rights clauses.
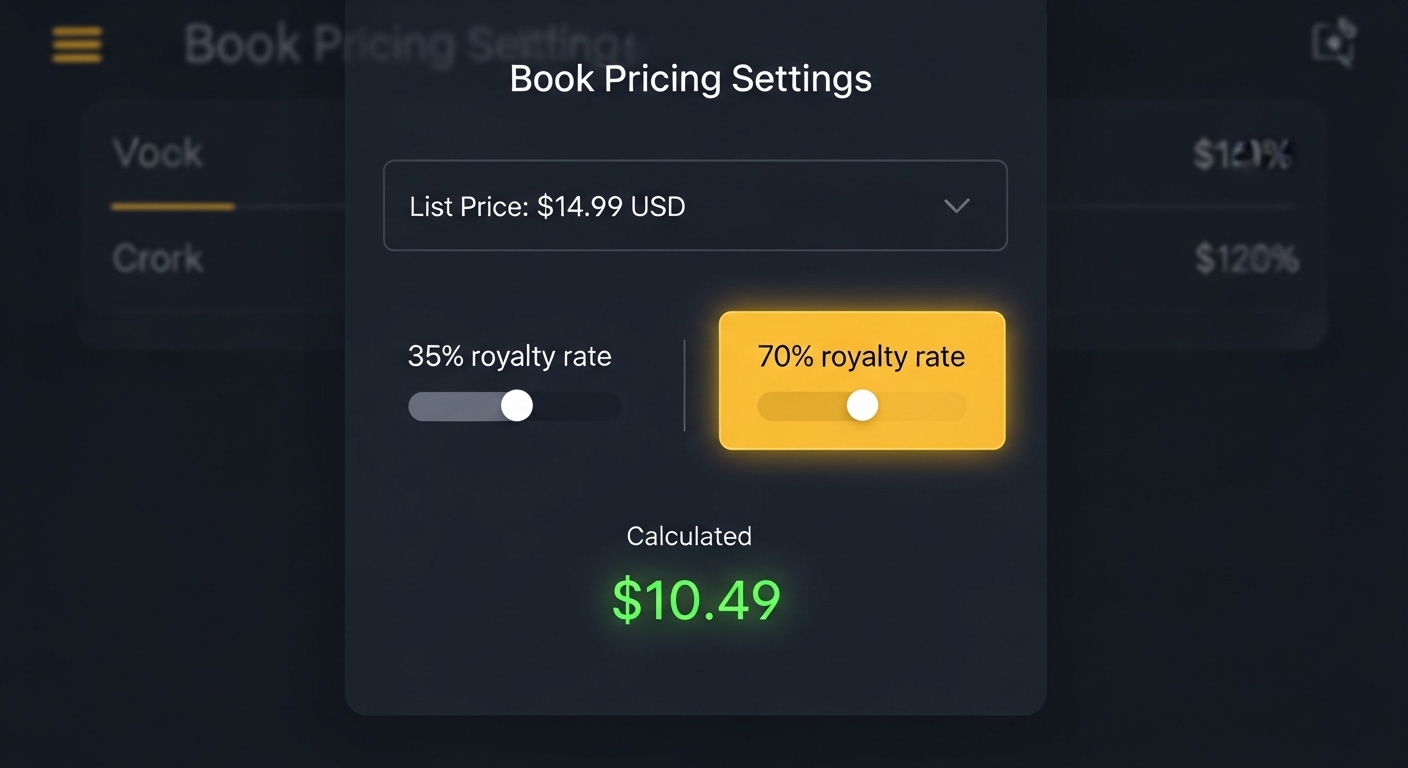
For Kindle eBooks, you choose between 35% and 70% royalty. The 70% plan requires your book to be priced between $2.99 and $9.99 in most marketplaces. Below $2.99 or above $9.99, you earn only 35%. For most authors, pricing between $2.99 and $4.99 on the 70% plan is the highest-earning strategy.
For paperbacks, the royalty is always 60% of the list price minus the printing cost. There is no plan to choose — it is automatic.
| Format | Royalty | Price Range | Deductions |
|---|---|---|---|
| Kindle eBook (35%) | 35% of list price | $0.99–$200 | None |
| Kindle eBook (70%) | 70% of list price | $2.99–$9.99 | ~$0.06/MB delivery fee |
| Paperback | 60% of list price | Above break-even | Printing cost deducted |
For paperbacks, KDP shows you the printing cost and the minimum list price before you enter your price. The minimum is the price at which you earn exactly $0 per copy — everything goes to printing. You want to set your price well above this. Most self-published paperbacks are priced between $9.99 and $19.99, depending on page count and genre.
Use the formula: add your target royalty per copy to your printing cost, then divide by 0.60. If your printing cost is $4.45 and you want to earn $5 per copy: ($4.45 + $5.00) ÷ 0.60 = $15.75. Price at $15.99.
Enter your page count, trim size, and target price to see exactly what you earn per copy and what your break-even price is.
At the bottom of the pricing section, KDP asks if you want to enroll your Kindle eBook in KDP Select. This makes your eBook available to Kindle Unlimited subscribers and gives you access to promotional tools like Kindle Countdown Deals and Free Book Promotions. The trade-off: your eBook must be exclusive to Amazon for 90-day periods. If you sell your eBook anywhere else — your own website, Apple Books, Google Play, Kobo — you cannot enroll in KDP Select.
For most genre fiction authors, KDP Select is worth it. Kindle Unlimited readership is particularly high in romance, fantasy, thriller, mystery, and science fiction. For non-fiction authors who have their own direct sales channels or want wide distribution, staying out of KDP Select is often the better long-term choice.
Every KDP author publishing a Kindle eBook should own a Kindle device to preview exactly how their book looks on the e-ink screen readers actually use. What looks good on your laptop monitor can look completely different on a Kindle e-ink display.
* Affiliate link — we earn a small commission at no extra cost to you.
Once you have completed all three sections — Book Details, Content, and Pricing — and reviewed your book in the previewer, you will see a “Publish Your Kindle Book” or “Submit for Publishing” button at the bottom of Section 3.
Before clicking it, do one final check:
When you click Submit, KDP begins its review. You will see your book status change to “In Review” on your bookshelf. Do not click Submit again — multiple submissions do not speed up the process and can cause errors.

You will receive an email from KDP when your book goes live. Your KDP bookshelf will show the status change from “In Review” to “Live.” At that point, your Amazon product page is active and your book can be ordered by anyone on Amazon.
If you published both a Kindle eBook and a paperback, Amazon should automatically link them on the same product page within 24–48 hours of both being live. If they appear as separate listings after 72 hours, contact KDP support and ask them to manually link the formats. This happens occasionally, especially if the exact title or author name has even a small variation between the two uploads. KDP support links them quickly and without issue.
After your book is live, go to author.amazon.com and claim your Author Central page. This is your author profile on Amazon — add a photo, biography, your social links, and your website. It appears on all your book listings. It costs nothing and takes 15 minutes, but it makes your books look significantly more legitimate to buyers who click through to check your other work.
After publishing, email KDP support and ask for up to 8 additional categories (for a maximum of 10 total). Send them your book’s ASIN (found on your KDP bookshelf) and the exact category paths you want. This significantly increases your book’s discoverability across more keyword searches and bestseller lists.
If you did not order a proof copy before publishing, order one now. From your KDP bookshelf, click the button with three dots next to your paperback title and select “Order author copies.” Proof copies are printed at cost — your printing cost plus shipping. Read your proof cover to cover before running any marketing campaigns. Physical print can reveal issues that no digital preview catches.
These are the errors that trip up first-time KDP uploaders most often. All of them are fixable, but knowing what causes them ahead of time saves you from having to diagnose them under pressure after a rejection.
Your PDF was exported without embedding the fonts. Open your source document (Word, InDesign, Canva), re-export as PDF, and make sure “Embed all fonts” or “PDF/A compliance” is selected in the export options. In Word: File → Save As → PDF → Options → check ISO 19005-1 compliant (PDF/A).
Your PDF page size does not match the trim size you chose in KDP. For example, your PDF pages are 8.5″×11″ but you selected 6″×9″ as the trim size. You need to reformat your manuscript to the correct page size and re-export. This requires going back to your source document. Our Paperback Formatter can apply the correct trim size dimensions to your uploaded PDF automatically.
One or more images in your manuscript are below 300 DPI. Find the image in your source document, replace it with a higher-resolution version, and re-export your PDF. Images that look perfectly sharp on a screen can still be low-resolution for print purposes — screen displays 72–96 DPI, print requires 300 DPI.
Your inside margin is close to or below KDP’s minimum for your page count. For a 300-page book, the minimum gutter is 0.75″. Re-set your inside margin in your source document and re-export. Use the Gutter Calculator to find the exact minimum for your page count.
This is the most common cover rejection. Your cover PDF was designed with a spine width calculated for a different page count than your final manuscript. Recalculate your spine width using the Spine Width Calculator with your final page count, then adjust your cover design and re-export.
Important text or design elements are within the 0.125″ bleed zone around the edges of your cover. KDP will flag this because elements that close to the edge risk being cut off after printing. Move all text and critical design elements at least 0.25″ away from the trim edges.
Your cover PDF is over KDP’s 400MB limit. This is uncommon but happens with very high-resolution photography-based covers. Flatten all layers in your design software, reduce image resolution to 300 DPI (not higher), and re-export.
Keep a reference guide on your desk for formatting, keyword strategy, Amazon Ads, and category research — topics KDP’s own help pages barely cover.
* Affiliate link — we earn a small commission at no extra cost to you.
Upload your PDF and get a KDP-ready file with correct margins, gutter, and trim size. No signup, no downloads, works in your browser.
FAQ
Common questions about uploading a book to Amazon KDP for the first time.
Use our free KDP formatter, spine calculator, gutter calculator, and royalty tools — everything you need to upload your book correctly the first time. No signup required.
🛠️ View All Free KDP Tools →